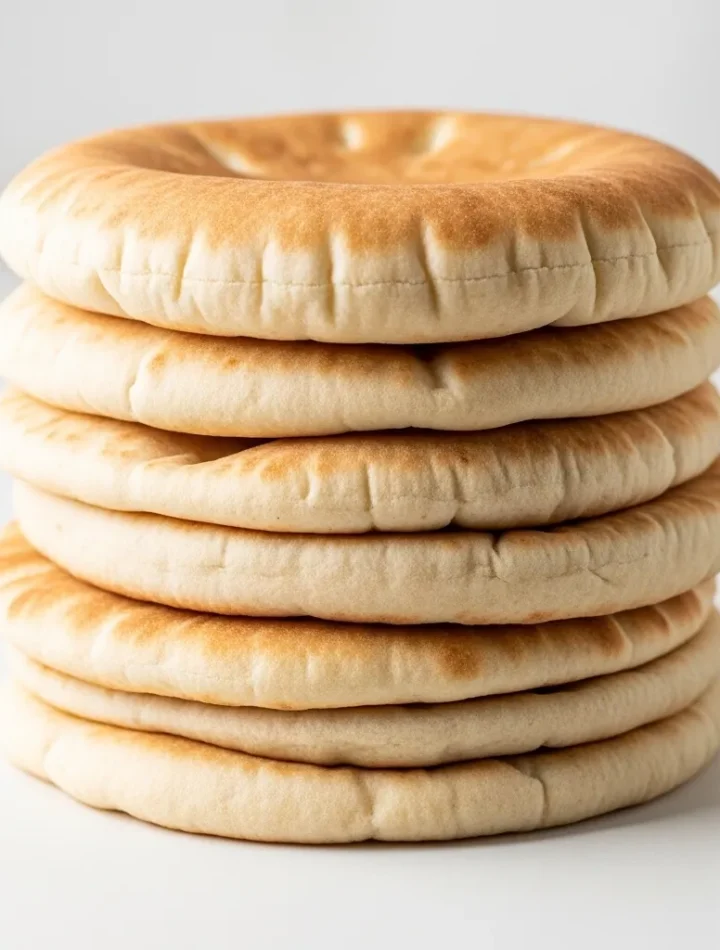
Pita Bread
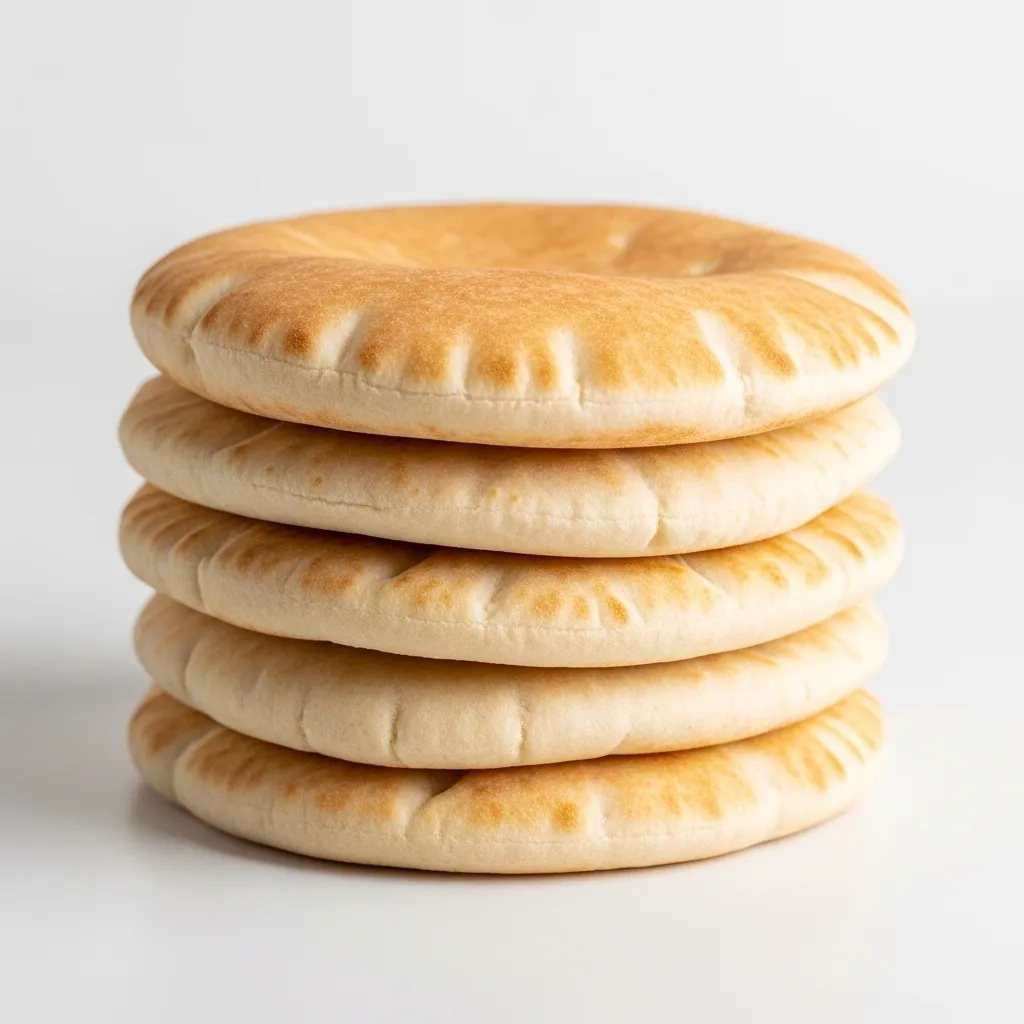
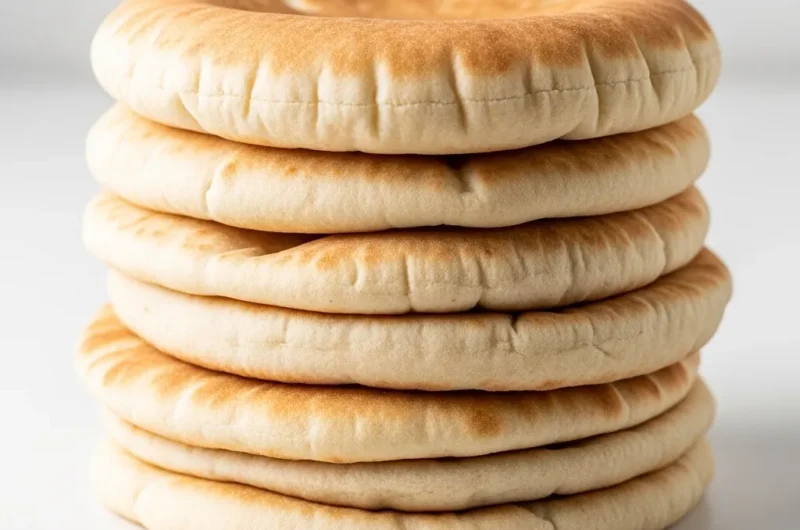
Have you ever wondered how to make your own pita bread? This fluffy, warm bread is not only a staple in many cuisines but also a delightful treat for your meals. Making authentic pita bread at home is easier than it seems, and the smell of baking bread fills your kitchen with a cozy aroma. Whether it’s a busy weekday evening or a family gathering, homemade pita can elevate any meal. Trust me, you’ll soon be reaching for this recipe time and again.
Why You Will Love This Recipe
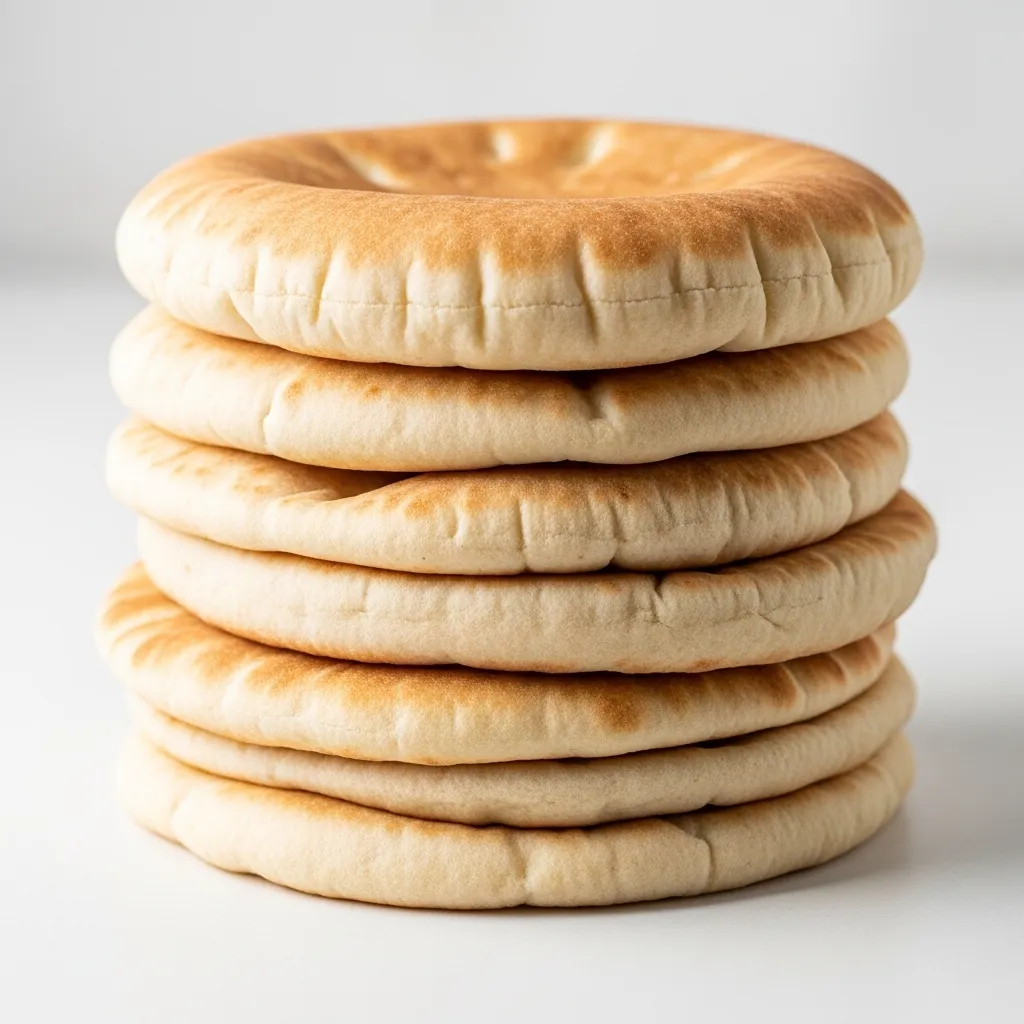
Are you looking for an easy, crowd-pleasing recipe that fits inside a busy schedule? Making pita at home is just that and so much more! The flavor is unbeatable compared to store-bought varieties, and it’s budget-friendly too. It’s a weeknight-friendly option that can be prepared in advance or enjoyed fresh out of the oven. Plus, it freezes beautifully, so you can always have some stashed away for last-minute cravings. Imagine cozy evenings dipped in hummus, filled with your favorite toppings – that’s the magic of homemade pita bread!
Ingredients
Tip: Use high-quality all-purpose flour for the best texture.
-
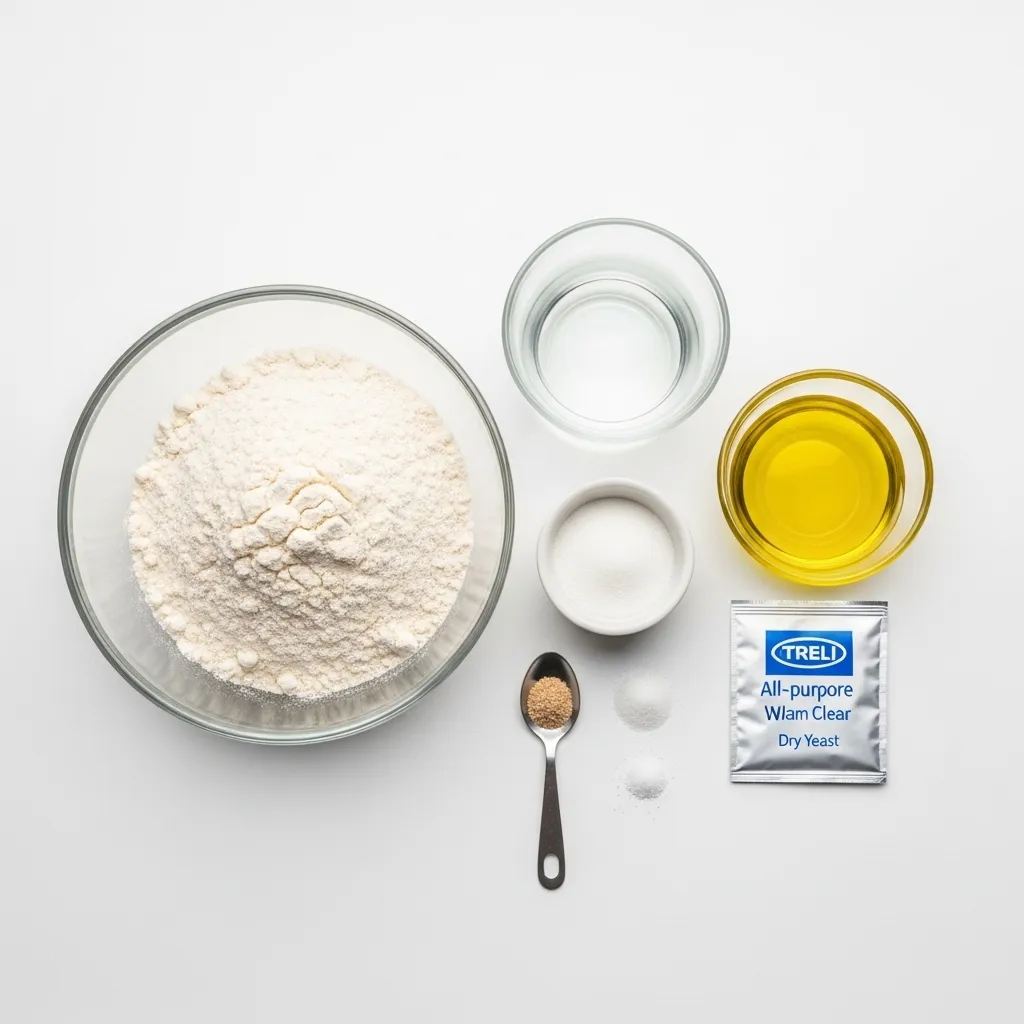
- 2 cups all-purpose flour
-
- 1 cup warm water (about 110°F)
-
- 1 tablespoon olive oil
-
- 1 teaspoon sugar
-
- 1 teaspoon salt
-
- 1 packet (2¼ teaspoons) instant yeast
For 2 people, cut the ingredients in half. For more than 4, simply double as needed.
Instructions
Step 1: Preparation
Are you ready to get started? First, mix the warm water, sugar, and yeast in a bowl. Let it sit for about 5 minutes until it becomes frothy. This step helps to activate the yeast.
Step 2: Main Cooking Process
Once frothy, add the flour, salt, and olive oil into the bowl. Stir until a rough dough forms. It should feel slightly sticky but not overly wet.
Step 3: Combining Ingredients
Knead the dough on a lightly floured surface for about 5–7 minutes. You want it smooth and elastic. This creates the perfect texture for puffing up in the oven.
Step 4: Finishing & Final Simmer
Let the dough rise in a warm place for about 1 hour, or until doubled in size. Once risen, punch it down and form into 8 equal balls. Roll each ball into a flat circle, about ¼-inch thick, and let them rest for another 30 minutes.
Why This Recipe Works for Busy Days
Does meal prep overwhelm you? This homemade pita bread recipe is a lifesaver for hectic days. You can prepare the dough ahead of time, let it rise, and then bake it fresh. And once you have some leftover pitas, they make for an easy snack or can be revamped into sandwiches, making them great for lazy lunches or quick dinners.
Tips & Tricks
-
- Don’t skip the kneading: Kneading helps develop gluten, which gives pita that lovely puff. If you don’t knead enough, your pita might turn out flat.
-
- Rolling evenly is key: If your pitas aren’t rolled out evenly, some may puff while others won’t. Aim for even circles to ensure they all puff perfectly.
-
- Adjust for smaller families: If cooking for two, cut the amounts in half, and still enjoy fresh pita without the hassle.
-
- Take your time with rising: If you’re short on time, a shorter rise is okay, but allowing it to double will give better flavor and texture.
Variations
-
- Meaty version: Stuff your pita with sliced grilled chicken or lamb, topped with a tangy yogurt sauce for a hearty meal.
-
- Vegetarian option: Fill with roasted veggies and a sprinkle of feta for a delightful and colorful dish.
-
- Ingredient swap: Use whole wheat flour for a nuttier flavor and added nutrition, perfect for a healthy twist.
-
- Flavor or herb boost: Add dried herbs like oregano or thyme to the dough for an aromatic twist that elevates the bread’s flavor.
Serving Suggestions
-
- With Dips: Serve warm pita with hummus or tzatziki for a perfect appetizer for gatherings.
-
- In Wraps: Use as a wrap for Mediterranean-style sandwiches filled with fresh veggies and proteins.
-
- For Breakfast: Stuff with scrambled eggs and spinach for a delightful breakfast option.
-
- As a Side: Pair with soups or stews; it’s perfect for dipping into a comforting broth.
Storage Instructions
-
- Fridge storage: Store leftover pita bread in an airtight container in the fridge for up to 3 days.
-
- Reheating: Quickly reheat pitas on a skillet over medium heat for about 30 seconds on each side to bring back their softness.
-
- Freezing: Wrap the pitas tightly in plastic and then in aluminum foil for up to 2 months. Thaw at room temperature when needed.
-
- Make-ahead tips: Prepare and roll the pitas ahead of time; just freeze them unbaked, allowing you to bake fresh pitas whenever you wish.
Recipe Timing
Prep Time: 30 minutes
Cook Time: 15 minutes
Rest Time: 1 hour 30 minutes
Total Time: 2 hours 15 minutes
Nutrition Information (Approximate)
Calories: 150 per serving
Protein: 4g
Key nutrients: Contains fiber and iron
Values are estimates and may vary based on ingredients used.
FAQs
-
- Can I make these ahead of time? Yes, you can prepare the dough and keep it in the fridge for up to a day before baking.
-
- Why is my pita not puffing up? Ensure your dough is well-kneaded and rolled evenly, and that your oven is hot enough – 500°F works best.
-
- What can I use instead of yeast? You can try baking powder, but the texture will differ. Using yeast gives you that desired puffiness.
-
- What if my pita is too thick? Roll the dough thinner next time; aim for uniform thickness for even puffing.
-
- How long does it last in the fridge? It keeps well in the fridge for about three days if stored correctly.
-
- Can I adjust the flavor? Absolutely! Add herbs or spices directly to the dough or into your filling for a delicious twist.
Conclusion
Making homemade pita bread is not just a cooking task; it’s a delightful experience. Each batch gives you that comforting feeling of warmth and the joy of creating something yourself. Pita perfection lies within your reach! Customize with your favorite fillings and enjoy this cozy bread with friends and family. You’ll relish it again and again.
Pita Bread
Course: Bread Recipes4
servings30
minutes15
minutes150
kcalEnjoy fluffy, warm pita bread made right at home! Perfect for dips, wraps, or as a cozy side.
Ingredients
2 cups all-purpose flour
1 cup warm water (about 110°F)
1 tablespoon olive oil
1 teaspoon sugar
1 teaspoon salt
1 packet (2¼ teaspoons) instant yeast
Instructions:
- Mix warm water, sugar, and yeast in a bowl. Let sit for 5 minutes until frothy.
- Add flour, salt, and olive oil. Stir until a rough dough forms.
- Knead on a floured surface for 5–7 minutes until smooth and elastic.
- Let rise in a warm place for about 1 hour until doubled. Punch down, form balls, roll into circles, and rest for another 30 minutes.